


![[SPARTANS MIC’D UP] Triple Jump with junior Julia Taylor](https://www.rubiconline.com/wp-content/uploads/2024/04/Screenshot-2024-04-24-205153.png)

![[COFFEE WITH CLARA] Ep. 6 Raven Glaser enjoys sports that decenter competition](https://www.rubiconline.com/wp-content/uploads/2023/09/coffee-with-clara-cover-art-1200x686.png)


![[SPARTANS MIC’D UP] Swim with Trojans captain Rishi Bhargava](https://www.rubiconline.com/wp-content/uploads/2024/02/rishi.png)


Floral creativities: a walk through on creating a paper bouquet

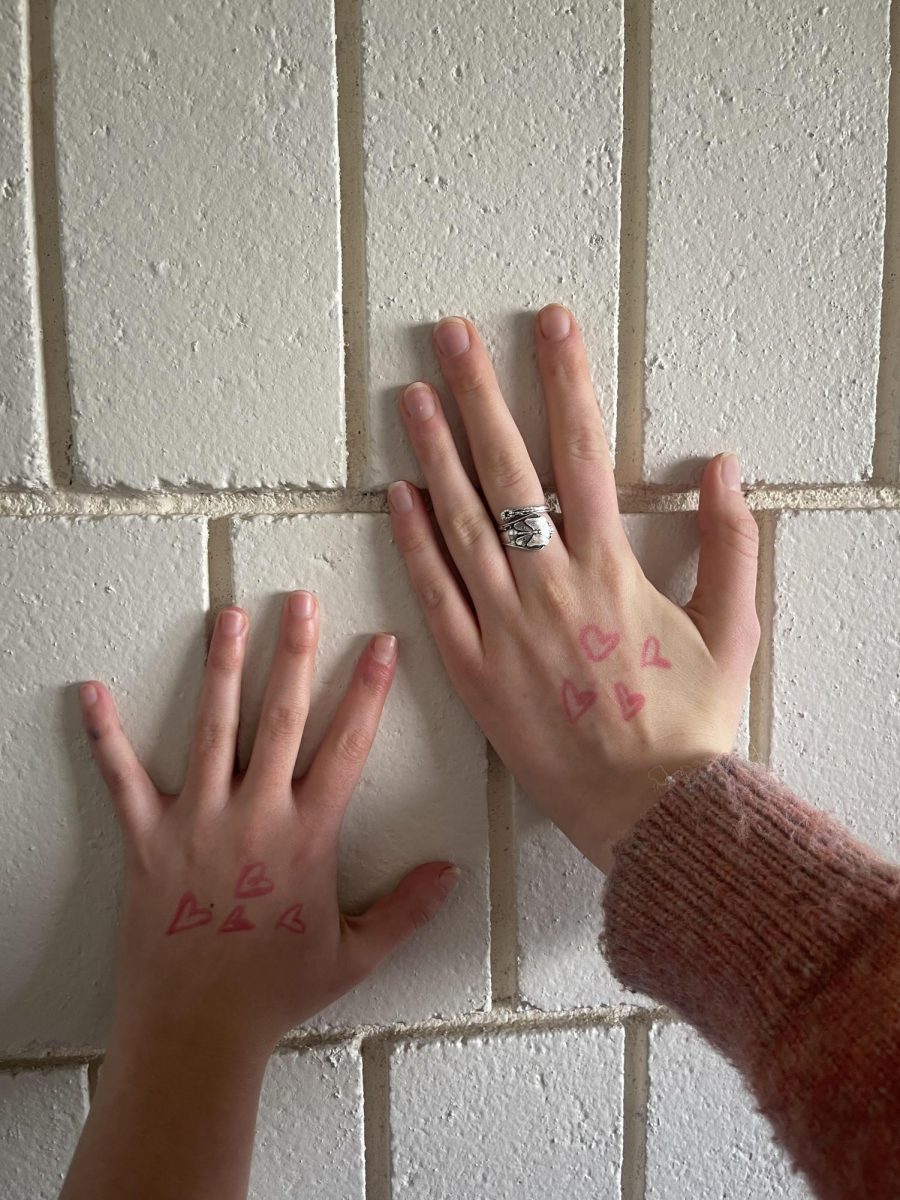
Giving flowers can express love, compassion, and displays a sense of thoughtfulness. However, flowers generally don’t last long and can only keep for 2 weeks at most. This DIY is not only simple, but also makes use of recycled newspapers and other materials that are laying around.
To get started, you will need 1-2 newspapers, skewers or wooden dowels, hot glue and a bit of tape, scissors, and an optional strand of ribbon. This DIY will include 2 different types of flowers of varying difficulty levels: 2 versions of a rose, and lavender.
THE SPIRAL ROSE
Beginning with the most simple flower out of the bunch, the spiral rose. Cut out a square in the newspaper depending on how big you’d like your flower to be. Then, shape the square into a circle by rounding the corners. Note that the circle does not have to be perfect and that this flower is quite forgiving. Then, cut the circle into a spiral, gradually cutting inward until reaching the middle; leave the middle to be the base of the flower. After cutting the spiral, roll up your spiral, working outside to inside, and then secure the roll on the base with a dot of hot glue. Lastly, take a skewer and poke it through the center of the flower, as well as the base, and secure it with a bit of hot glue.
To get started, you will need 1-2 newspapers, skewers or wooden dowels, hot glue and a bit of tape, scissors, and an optional strand of ribbon.
A TRUE ROSE
The second variation of a rose is more challenging than the first. To set this flower up, cut 6 squares out of the newspaper. Repeat with the 5 other pieces of paper until there are a total of 6 squares.
Next, fold corner to corner twice; the end goal should be a triangle. Proceed by outlining a teardrop shape on 2 of the triangles and a clover shape on the remaining 4 and cut. Be sure to cut the tips off to ensure that the skewer will be able to go through them later on. Unfold the triangles and 4 identical shapes on each piece of paper will be revealed. Those are the petals. If a natural split between petals did not form between each petal, cut them by cutting towards the center. Then, take a skewer and curl the petals inwards until every single petal is curly.
Finally, take the teardrop petals and roll them to form a circle and layer each side on top of the previous. Once the first teardrop petal is used, run a skewer through and thread the second teardrop below it. Continue rolling and layering all the petals until it appears like the center of a flower. Then, take two of the clover shaped petals and glue them on top of each other, with the skewer running through them guaranteeing that they will be aligned. Take the final clover shaped petal, flip it upside down, and begin securing it onto the center of the flower to create a seamless look once the entire flower is assembled. Once everything is glued together and dried, dab a small amount of hot glue on the center of the flower and press it down on the base of the petals from before. Press the skewer through the flower to act as a stem.
To create the bouquet, arrange the flowers in any way and wrap with any remaining newspaper. The result is a bouquet of flowers that will last forever, making the love of the giver eternal.
THE LAVENDER
The second flower in the bouquet is the lavender. To begin, cut a long, rectangular piece of newspaper and fold it in half both ways. If it is not symmetrical, trim the outsides until it aligns. Then, cut slits on the folded side, making sure that the cuts never fully go through. Once finished with the cuts, unfold the paper and fold the other way. Secure the paper down with minimal tape, as tape ensures that the paper will remain relatively flexible in preparation for the next step. Next, begin wrapping the strand down a skewer at an angle, sealing it with hot glue as the strand is wrapped further down. Finally, secure the end of the paper with hot glue.

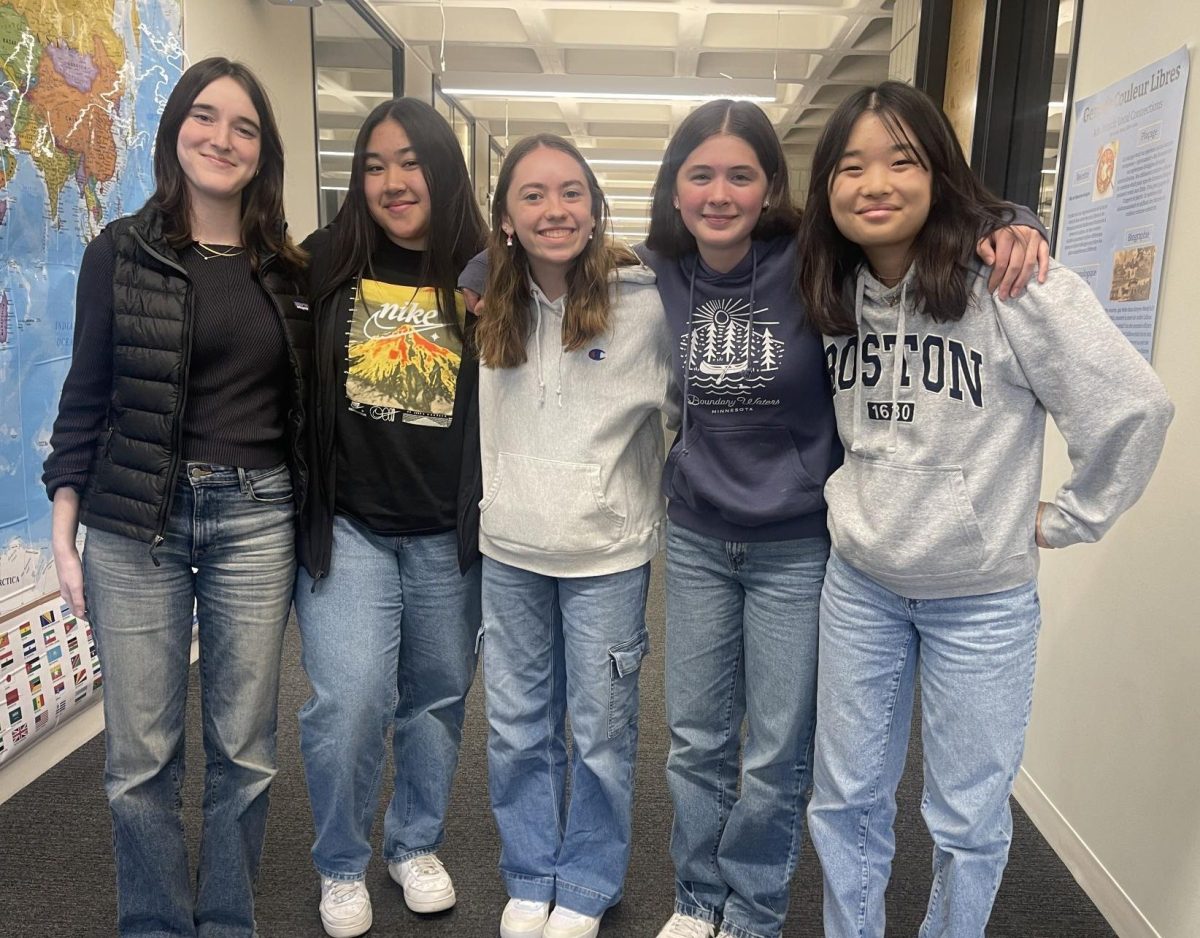
My name is Annie Zhang (she/her). I work as a Feature Editor for The Rubicon. At school, I’m involved in soccer, USC, and Gardening Club. I love meeting...

My name is Annika Kim (she/her). I work as the Illustrator for the Rubicon, and this is my second year officially on staff. At school, I work on Iris Art...